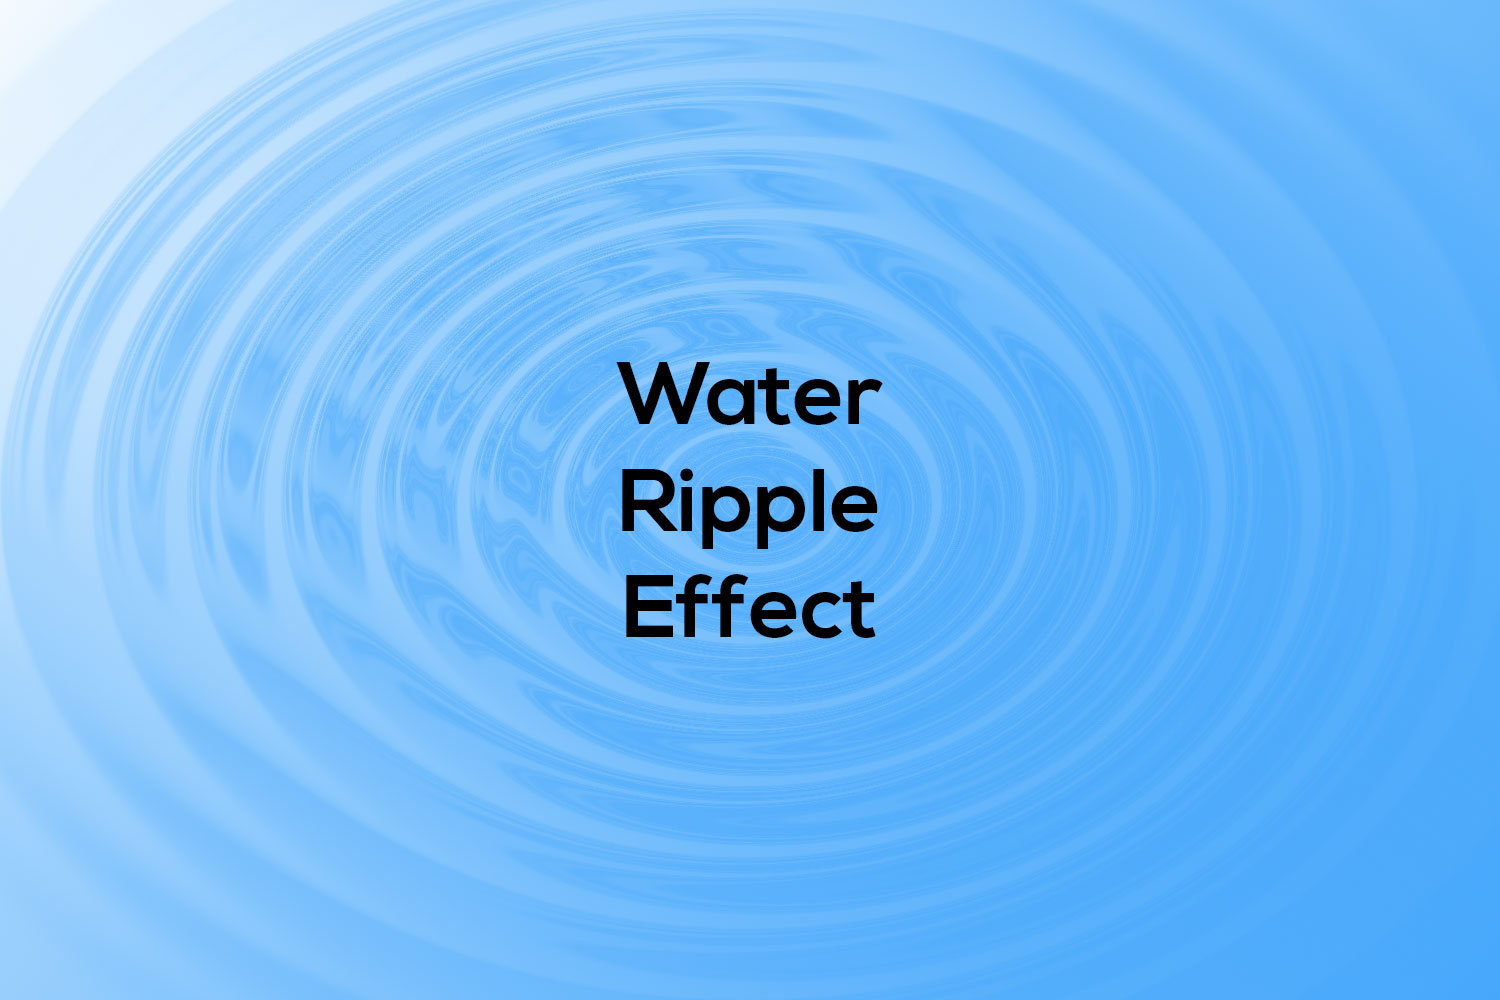
As we have started the tutorial series on our website so today I am going to share the best photoshop tutorial with you. Creating a realistic water ripple effect in Photoshop can add dynamism, professionalism, and depth to your digital artwork. Whether you are designing a dramatic ocean storm or a serene lakeside scene, this technique can apply a stunning look to your graphic design elements. In this step-by-step guide, we will discuss the process of Photoshop filters and tools to achieve a beautiful water ripple effect that will captivate our audience. Let’s explore it and learn how to make this effect that brings your digital creations to life.
Table of Contents
Document Creation in Photoshop
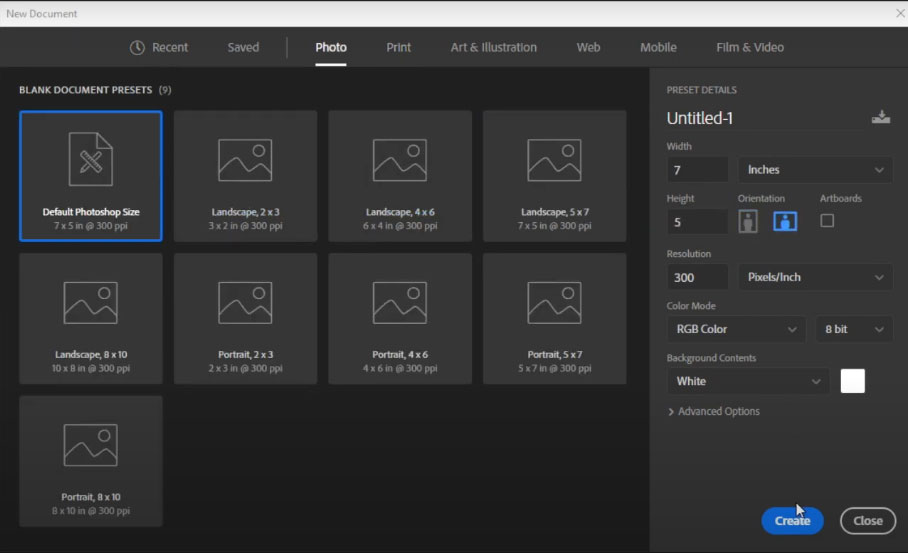
You can start with any dimension according to your requirements, but today in this tutorial I will start with the default Photoshop size. For this, you can press the Ctrl + N keyboard shortcut key on your computer if you are a Windows operating system user, and for instance, if you are a Mac user then you can use Cmnd + N to create a new document.

Gradient Settings
Now create a gradient of white and blue color, and then apply the linear gradient in your document.
Filter Settings and Apply Water Ripple Effect
For the settings of the filter, please navigate to the filter option in the top menu, then apply zig-zag from the distort option.

Now the ZigZag panel will appear and here are a few settings including Amount, Ridges, and Style. Select 100 in the amount field, 10 in the ridges field, and select “Pond Ripples” in the style option. Now you can see your document has been changed to this effect

Now again navigate to the filter option and re-apply ZigZag that now you can see at the top of the options list. You can apply as much time as you need, every time you will see the water ripple effect will be much better. Now after applying it again I can see a major change in the image, see below

Please watch the video tutorial below


